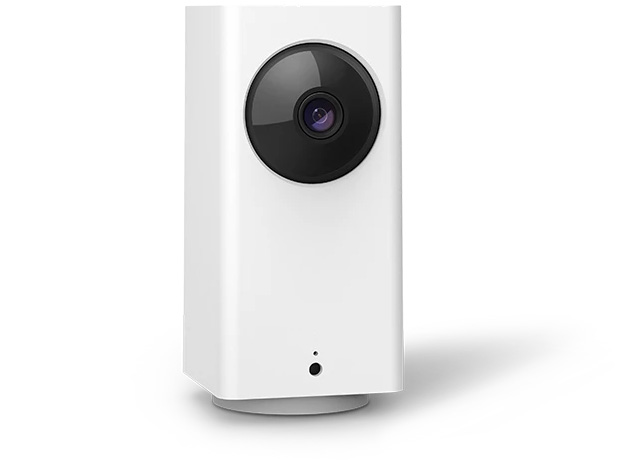
Your Roku Indoor Camera 360° SE delivers Full HD video with pan and tilt, motion & sound detection, color night vision, two-way audio, an intruder siren, and smoke/CO alert notifications. With a Roku Smart Home Subscription, you also get cloud storage, instant recordings, and smart person/pet/object detection. Roku Indoor Camera 360° SE (model CP1000)
Quick Start Guide
Roku Indoor Camera 360° SE (model CP1000)What you'll need
- Power: Wall outlet or USB port (5V/2A). Your camera includes a USB cable and power adapter. Consider a power extension cable if needed.
- Wi-Fi: 2.4 GHz network using WPA/WPA2 security.
- Smartphone/Tablet: iOS or Android device with the Roku Smart Home app.
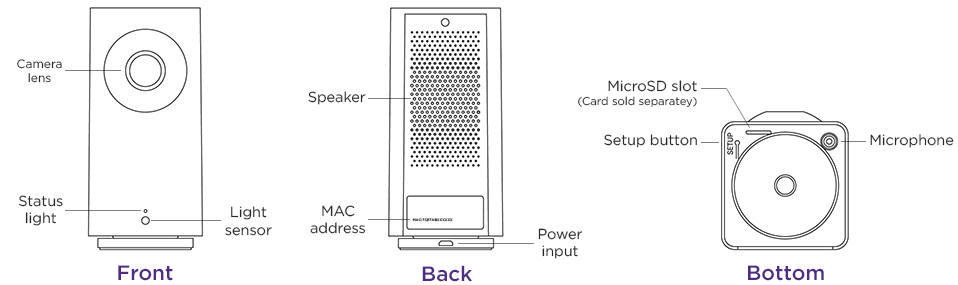
- Other: Note the camera’s MAC address in case you contact Roku Customer Support.

Note: If your camera is installed where there is no Wi-Fi connection or the signal is poor, you can install a MicroSD card to record videos.
Getting started
Step 1: Power on your camera
- Plug the small end of the USB cable into your camera (it only fits one way; do not force it)
- Plug the other end into the power adapter, then into a wall outlet or USB port
- Wait for the status light to flash red. The camera is then ready to connect
Step 2: Connect using the Roku Smart Home app
- Download and open the Roku Smart Home app on your phone or tablet
- Tap + > Add device > Cameras & doorbells > Indoor Camera 360
- Press the Setup button on your camera. When you hear “Ready to connect,” check the box in the app and tap Next
- Choose your 2.4 GHz Wi-Fi network, enter the password, and tap Next
- Hold your camera about 5 inches from the QR code shown in the app. When you hear “QR code scanned,” tap Next
- If the camera doesn’t scan the code, try these tips.
- When you see “Setup completed” and the camera light turns solid blue, name your camera and tap Finish
When connected to Wi-Fi , your camera can record videos to the cloud with your Roku Smart Home Subscription. You also get instant recordings when motion and sound is detected, and intelligent person, pet, and object detection. Learn more about the premiere features available with your Smart Home Subscription.
Where to install your camera
Your camera can be installed just about anywhere in your home. If you need help attaching it to the wall or ceiling, check out some mounting tips for Roku Smart Home cameras.
Note: For ceiling or upside-down mounting, rotate the image in the Smart Home App by navigating to Settings > Advanced settings > Rotate image 180°.
What does the status light mean?
It is important to understand what the status light means as you power on your camera and continue with the setup process.
During setup | Status |
|---|---|
RED - Solid | Powered on and beginning setup |
RED - Flashing | Ready to connect |
RED and BLUE - Flashing | Connecting to Wi-Fi |
BLUE - Flashing | Connected and finishing setup |
After setup | Status |
|---|---|
BLUE - Solid | Connected and working |
RED - Solid | |
RED - Quickly flashing |
Related articles
Last updated at 6/25/2026 9:26:58 PM
Was this article helpful?
Related articles
Need more help?
