To start streaming, you need to connect your Roku player or TV to the Internet and link it to a Roku account. This article explains how to activate your Roku® streaming player or Roku TV™ system, and how to resolve common activation issues.

Note: Activation is always free, and Roku will never charge you a fee to create an account. Learn more about how to avoid fraudulent websites and protect yourself from activation and technical support scams.
What you need
- Roku connected to your TV
- Internet connection
- Phone or computer
- Access to your email
Step 1: Connect your Roku device to the Internet
Follow the instructions on your TV:
- Select Set up for home use
- Select Set up new wireless connection (if using Wi-Fi)
- Choose your Wi-Fi Network
- Enter your Wi-Fi password
Your Roku device may update software. Let it finish.
Step 2: Link your Roku to your account
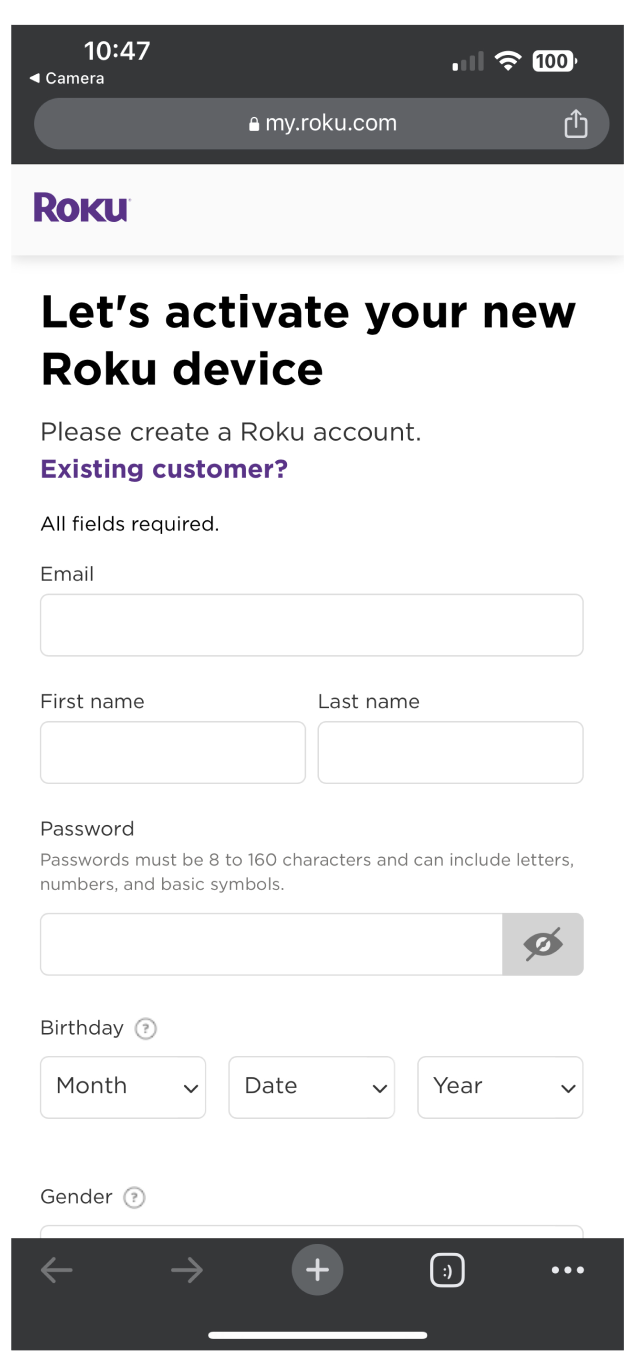
With your email address
- Enter your email address using the Roku remote
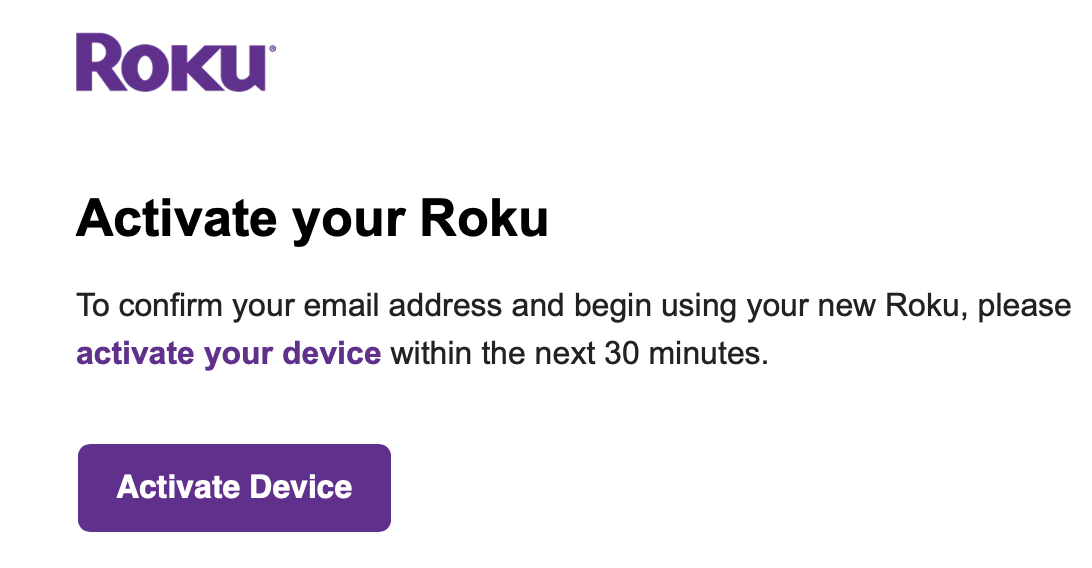
- On your phone or device, open the email from Roku and click Activate Device
- Follow the steps to create an account. Click Existing Customer? if you already have a Roku account.
- You may be asked for a payment method. You will only be charged if you choose to buy something later.
- When set-up is complete, your Roku device will go to the home screen.
With a QR code
- Open your phone camera
- Scan the QR code
- Tap the link that appears
Troubleshooting
I didn’t get the activation email
- Wait a few minutes
- Check your spam or junk folder and search your inbox for "Roku"
- Make sure you typed your email correctly
- Press the Star button and choose Resend activation link or Edit Roku email to re-enter your email
The activation link expired
- Press Star
- Select Resend activation link
- Check your email again
The QR code will not scan
- Move your phone closer or farther
- Clean your TV screen
- Angle the phone slightly
- Choose the option to enter a code instead
I got stuck after entering my email
- Your TV must stay on the activation screen to finish set-up
- If not, press Star, and enter your email again
Last updated at 4/1/2026 1:34:47 PM
Was this article helpful?
Related articles
Need more help?
